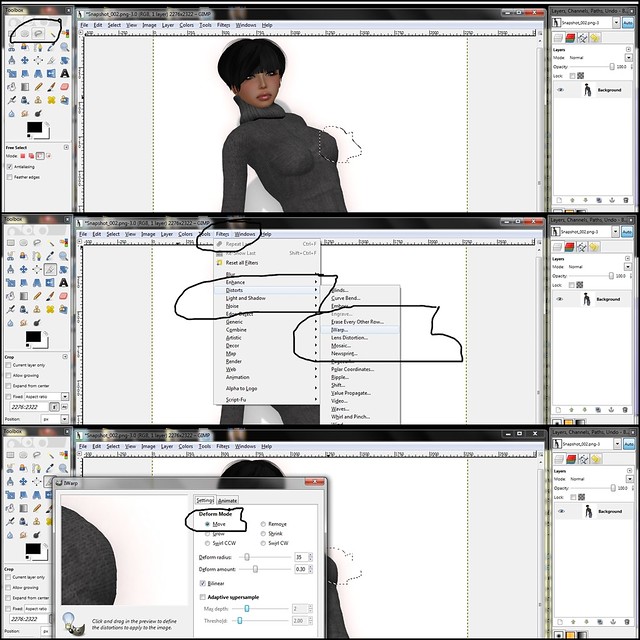
So first I take the lasso thingy tool and draw around the area I want to edit, in this case the boob, because boobies really should never be sharp. :D Next I open the "Filters" drop down menu and go to "Distorts" and then finally select "IWarp." A new box will pop up with the image of what you lassoed on the left and a bunch of sliders and stuff on the right. There are a lot of options but for this we should check "Move." My picture was over 3000 pixels so for that tiny area I had to move the slider up to 35 radius. Mess around with it to find which number works better for your picture size, etc. All you do then is "push" the pointy parts gently inward with the mouse to make it look rounder. If you need to see this image closer just click it to get to my Flickr.
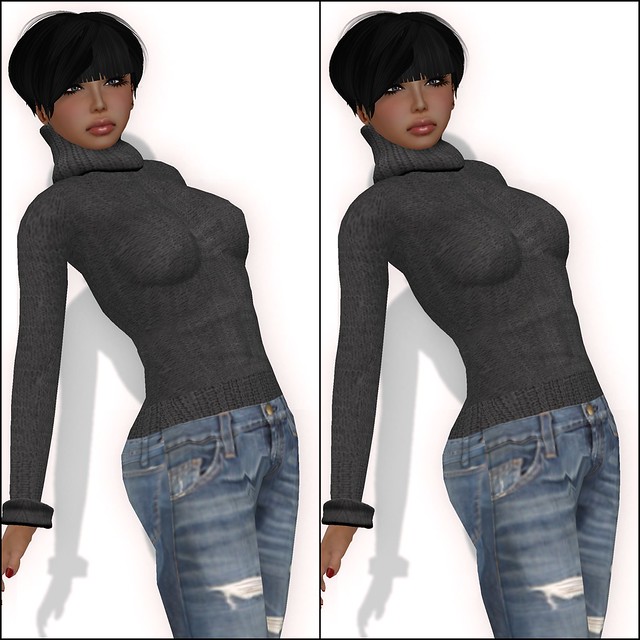
I did this on a few different parts of the body. It's just a little thing but when a picture is done it can make a big difference! The picture on the left is the before and the right is the after. I edited it enough so that there weren't too many scary, sharp spots but not so much that it actually distorts what the product, shape and avatar in general look like. Like I said, this is just a small change but in the future we will bring you more tutorials and combined maybe we can all learn together and do some cool stuff! Forgive me if this sucked, I am still learning. xD Let me, Sileny Noel, or any of us here at Free*Style know if there is anything you want covered and, don't forget, there is no such thing as a stupid question!
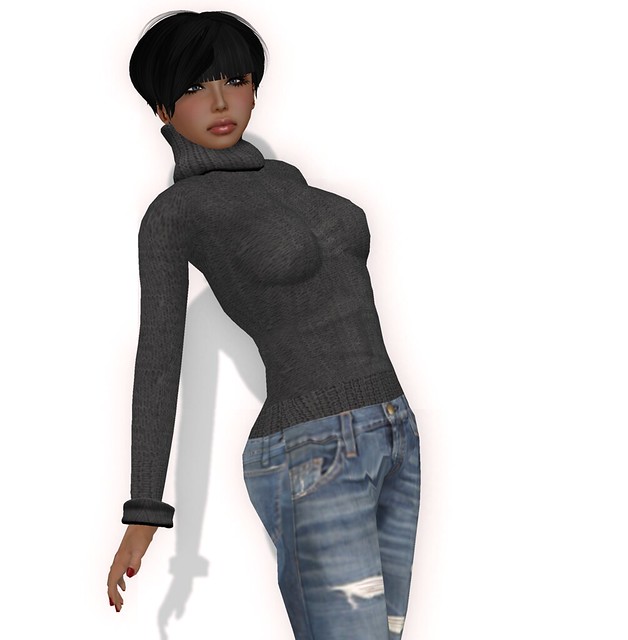
Worn:
Shape: Quintessencia, 1L
Sweater: Quintessencia, comes with vest (not worn), colors are 50L-100L
Pants: Milk Motion
Skin: Cherry Girl
Hair: Pomme d' Amour
(Hair is worn with bangs from a different hair style by Alice Project)
Nail Polish Layer: RezIpsa Loc